Sunday, April 27, 2014

Spinning in the Grease

Renee here.  As you may know, I learned to spin wool this winter, and I’ve had great fun experimenting.  I recently became interested in the properties of raw wool, specifically, greasy mittens that would be water-resistant, more so than their washed-wool counterparts.  Even on the coldest days this winter, I could bury my hand in the snow-covered fleece on a sheep’s back and find a warm, dry critter beneath it.  The same could not always be said for my snowy mittens and hands inside of them.

In order to spin in the grease, I learned you need a freshly-shorn fleece, before the lanolin has time to get sticky.  I selected Cinderella’s lamb fleece from our last shearing, in part because she had nice long fibers (easier to spin), in part because she was very greasy (that’s the point, right?), and in part because she’s a favorite.

Cinderella in her fleecy snowy glory
It seems the greatest deterrent to spinning in the grease is the fear that one’s equipment will be ruined by it.  This leads some to believe they should have separate equipment for spinning in the grease.  Obviously, the mechanized carder we usually use to process washed wool would not do will with greasy, dirty fiber.  I opted for the combs.  Youtube led us to believe this is more processing than is necessary to spin raw wool, but the appeal of the combs was that they were handy, and looked relatively simple to clean and difficult to damage.

Getting ready to comb
From my Youtube research, I gathered that there is no one right way to use the combs, but gained some helpful hints on not smashing the wool together in a clump or spearing yourself.

I then set about combing Cinderella’s fleece.  I picked out only the largest pieces of vegetation, letting the combs do the rest.  As I combed it, the short fiber remained behind, set aside for felting, and the vegetation fell through to the floor.
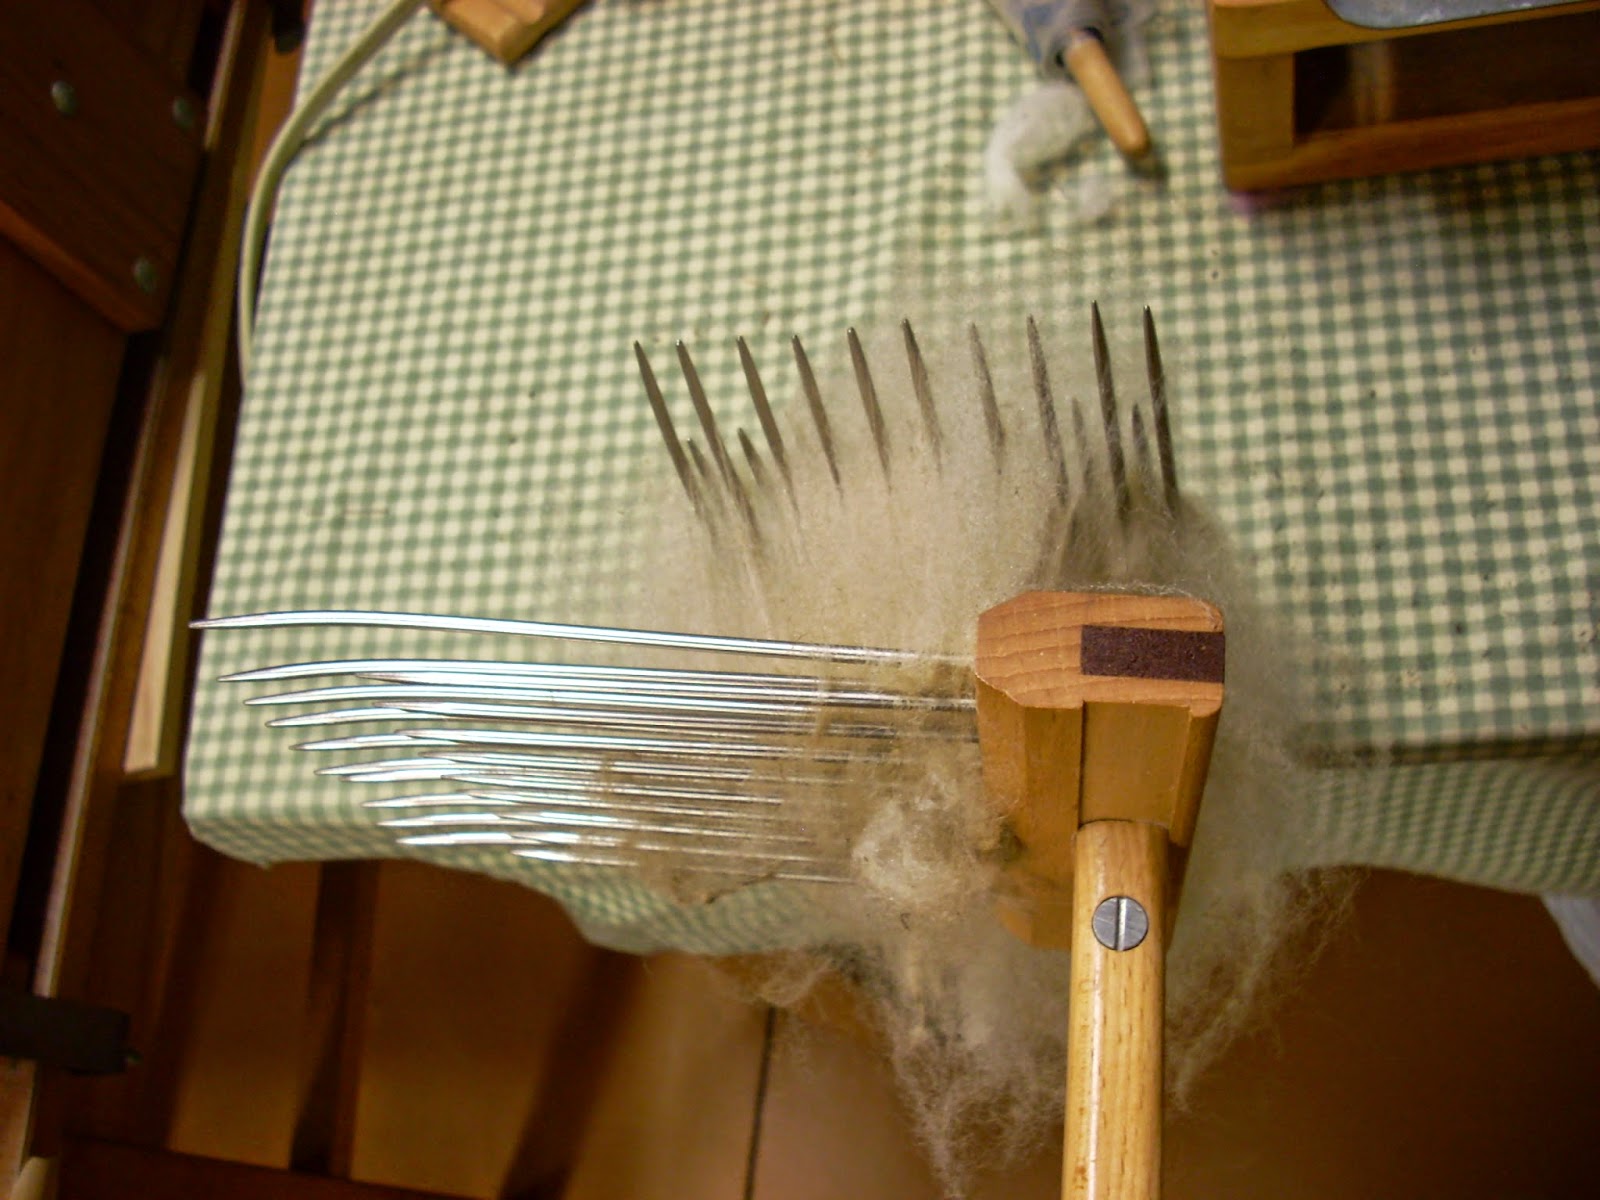
Here we go
From the comb, I used a nifty trick to make roving: pull.  Amazes me every time. 

whoa, magic
Each time, I got a little ball of roving.


When they piled up, I took a break and spun them.  The voices of the internet claim spinning in the grease is easier, smoother, and more enjoyable.  They are correct.  Cinderella spun up rapidly, evenly, and painlessly.  Stay tuned for what happens next!

Sunday, March 2, 2014

Winter Projects


People ask us if we are less busy in the winter than in the summer.  When I am in the middle of winter I think not.  When spring, summer and fall come I think maybe.

Typically in winter we try to catch up on indoor projects that wait for us not to be working outside.  Right now we are watching the thermometer for signs of spring and time for sap to run, and seeing near zero temperatures, it is not time yet.

So, we are finishing up the wood work in the office, which this past year was the focus of restoration and renovation.  Last summer we ripped out the ceiling and walls to install insulation.  We also refinished the floor and enclosed the existing fireplace, not willing to eliminate it entirely. Mary Ann carefully removed the woodwork around windows and doors, stripped off the orange paint, and added natural stain. Next up will be shelves and cupboards on one wall.  A place for everything and everything in its place….

Mary Ann also painted the woodwork at the bottom of the stairs and put a strip of carpeting on the steep stairs to upstairs bedrooms. The laundry room will eventually have shelves added for storage of towels and sheets.

In the Dye Kitchen in the Tesseract we moved a cupboard closer to the stove to hold dye pots, cleared out the stuff that accumulated under the counter and Mary Ann built shelves to accommodate the items we now know are frequently needed for dyeing wool…There is a place for natural dyes, madder root, onion skins, lichen, and dried marigolds, which are beginning to comprise a larger portion of dyed wool.


And, this weekend is building a cupboard to replace the desk behind the door that we now know Marty does not use, and which has a tendency to accumulate stuff .  This will be a place for food related items, tea, cups, bowls, plates etc., keeping it away from the dye stuff.


Our WWOOFers have done a grand job of washing, dyeing and carding bags and bags of wool to be used for wet felting projects and cupboards in the kneewall upstairs are sorted and labeled.  Washed fleeces have been organized and inventoried, samples are posted, and computer records updated.  And new signs made for farmers market ant the store and tons of Thyme Tile  needle felting kits are ready to go.


This week Marty sorted the yarn stash and is finishing a vest and a sweater that have been in process for way too long.  We now have bins of partial balls of yarn sorted by color, and a bin on hand spun waiting to be plyed into yarn.


And Marty is working on needle felted designs for display….

When the weather gets a bit warmer we will move back outside….getting ready for lambing in the barn.

Tuesday, February 11, 2014

Wooly Wet Felting

Mary Ann and I learned about wet felting years ago at Common Ground Fair.  This house in the woods was our first endeavor.


The techniques of wet felting have changed  little over the past 2,000 years.  Then as now you use wool, water, heat and agitation to tangle wool fibers together into an unwoven fabric.


Wet felting involves applying warm soapy water to layers of wool fibers placed in layers at 90 degree angles to one another. Repeated agitation and compression causes the fibers to hook together into a single piece of fabric. Only certain types of fiber can be felted successfully. Sheep's wool is a favorite.
Most types of sheep’s wool, can be used for the wet felting process. wool is covered in tiny scales.  Wetting and soaping the fleece causes the scales to open, while agitating them causes them to latch onto each other, creating felt. Plant fibers and synthetic fibers will not felt.
 After the wet felting process is complete, the felted material may be finished by fulling which includes scouring and thickening. In Roman times, fulling was conducted by slaves working the cloth while ankle deep in tubs of human urine.  Stale urine, known as wash, was a source of ammonium  salts and assisted in cleansing and whitening the cloth. Now soap is used.
Originally, fulling was carried out by pounding the woolen cloth with the fuller's feet, or hands, or a club. In Scottish tradition, this process was accompanied by waulking songs, which women sang to set the pace. Women sat at a table and beat the cloth against it in rhythm. 


Wet felting involves lots of agitation, rubbing, and rolling using bubble wrap or a felting stone.


This shows shaping wool into long ropes...more rubbing!


And voila!  Beautiful bags for everyone. 


Here are some pictures of wet felted items  done by Kathleen, our wet felting guru, by Marty, and by others who took classes here at the farm.
Wet felted bags by Kathleen
Wet felted Slippers, by Kathleen.  Class coming up February 23.  There is room for more....
Marty's bag ready for needle felted embellishment.